So, you’ve installed your SSL certificate—great! But when you type your site’s URL, it still shows as http://, or worse, loads both http and https versions.
Don’t worry—it’s a common step many website owners miss.
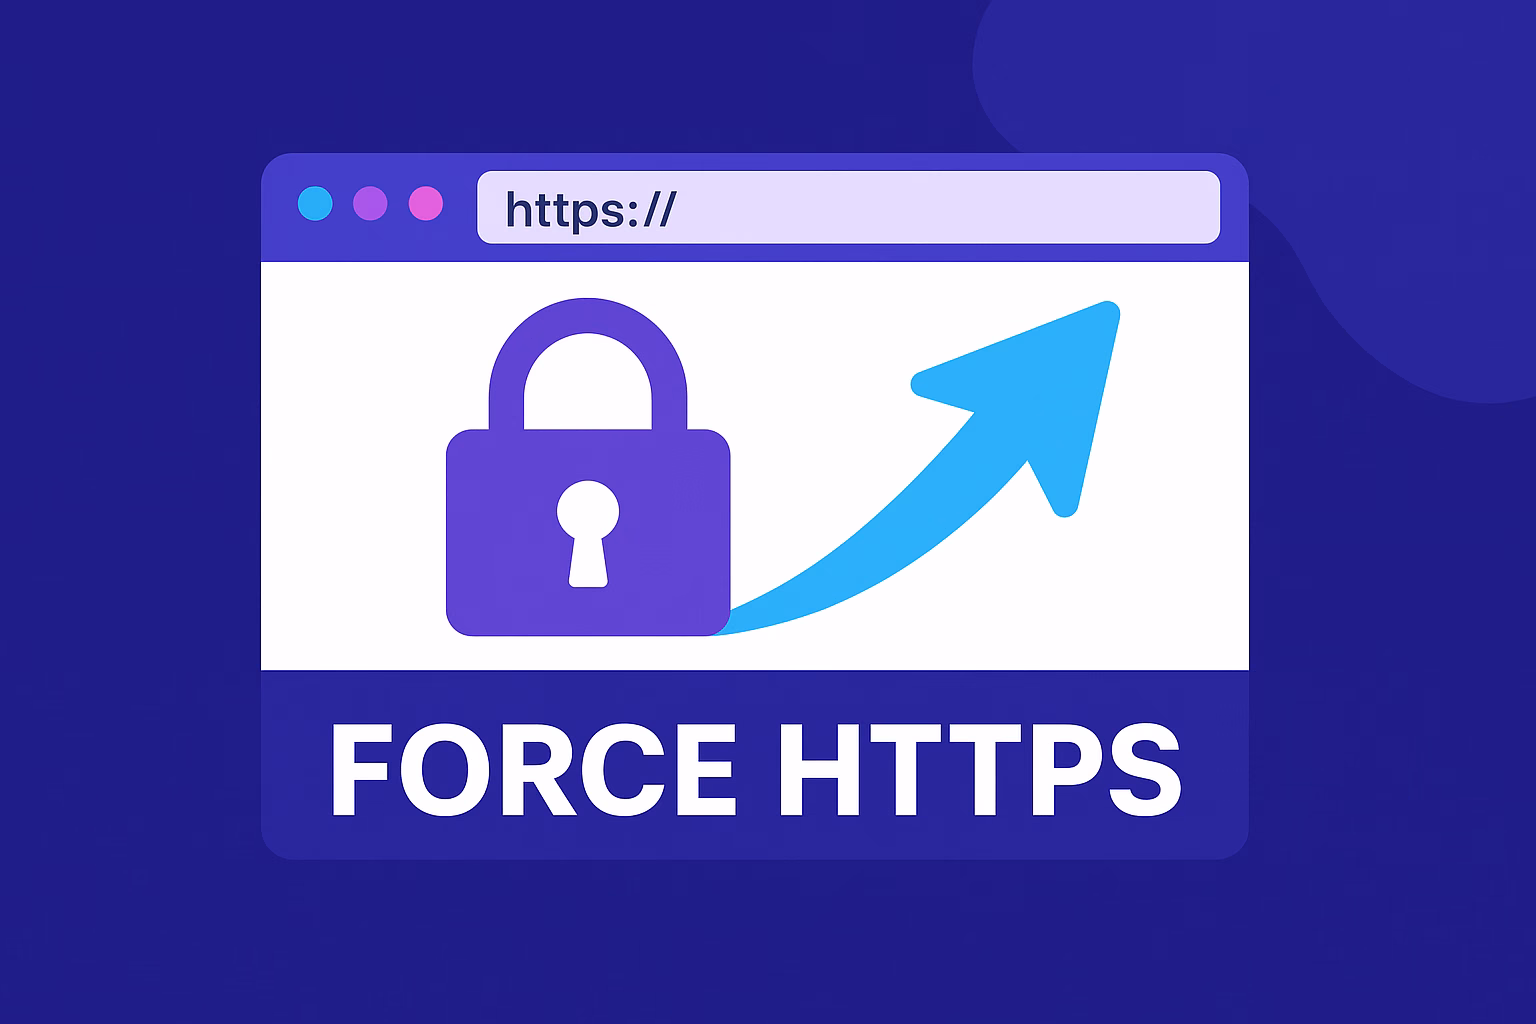
In this guide, we’ll show you how to force HTTPS on your website, even if you have zero coding experience. Let’s make sure every visitor sees the 🔒 padlock icon and your site stays secure by default.
🔍 Why You Should Force HTTPS
When HTTPS is optional, visitors might:
-
Land on the insecure (HTTP) version
-
See a “Not Secure” warning in browsers
-
Miss out on the SEO and trust benefits of SSL
By forcing HTTPS, you:
✅ Redirect all traffic securely
✅ Protect your visitors’ data
✅ Improve Google rankings
✅ Look more professional
✅ Step 1: Make Sure SSL Is Installed
If you’re hosting with PLiKhost, free SSL is included and installed automatically.
To check:
-
Visit
https://yourdomain.com -
Make sure you see a padlock icon in your browser
-
If not, open a support ticket—we’ll help you fix it!
SSL must be active before forcing HTTPS.
🧰 Step 2: Force HTTPS (Choose One Option)
🔧 Option A: Use cPanel’s “Force HTTPS” Feature
If your hosting uses cPanel (like PLiKhost):
-
Log in to your cPanel
-
Go to Domains
-
Find your domain and toggle “Force HTTPS Redirect” to ON
That’s it! All visitors will now be redirected to the secure version.
🟢 This is the easiest and safest way—no code needed.
📝 Option B: Edit .htaccess File (for WordPress or Apache)
If you prefer a manual method:
-
Open File Manager in cPanel
-
Locate the
.htaccessfile in your site’s root folder (usuallypublic_html/) -
Add this code at the top:
RewriteEngine On

RewriteCond %{HTTPS} off

RewriteRule ^(.*)$ https://%{HTTP_HOST}%{REQUEST_URI} [L,R=301]
-
Save the file and clear your browser cache
🔒 This ensures all traffic is redirected using a 301 (permanent) redirect.
⚙️ Option C: Use a WordPress Plugin (Beginner-Friendly)
If your website uses WordPress, install one of these plugins:
These plugins:
✅ Detect your SSL certificate
✅ Force HTTPS across all pages
✅ Fix insecure content (mixed content warnings)
📦 Most require just one click to activate HTTPS site-wide.
⚠️ Troubleshooting: Mixed Content Warnings
If you see a padlock with a warning or no padlock at all:
-
Your site may be loading images, scripts, or stylesheets via HTTP
-
Use a plugin like Really Simple SSL to fix these automatically
-
Or manually change links in your content or theme to use https://
Tools like Why No Padlock can help identify what’s causing the issue.
✅ Final Checklist
-
SSL is active and working
-
HTTPS is forced via cPanel, .htaccess, or plugin
-
Padlock appears consistently on all pages
-
No browser warnings
-
Google Search Console uses the HTTPS version of your site
🔁 Once done, update your internal links and sitemaps to reflect https://
🟢 Final Thoughts
Forcing HTTPS isn’t just a “nice to have”—it’s a security and SEO essential.
And with PLiKhost’s free SSL + beginner-friendly tools like cPanel and WordPress, you don’t need to be technical to secure your website.
Ready to launch your secure site?
Host with PLiKhost and get HTTPS protection from day one—automatically.